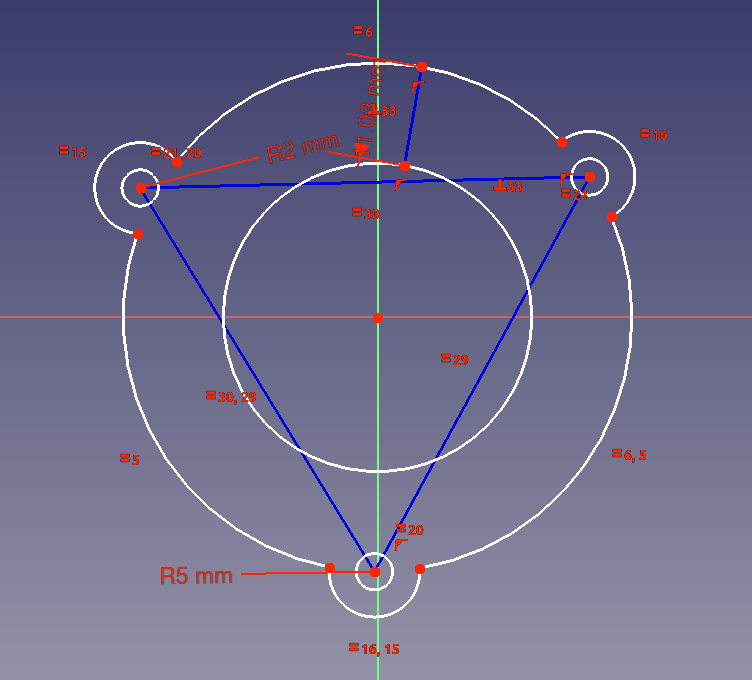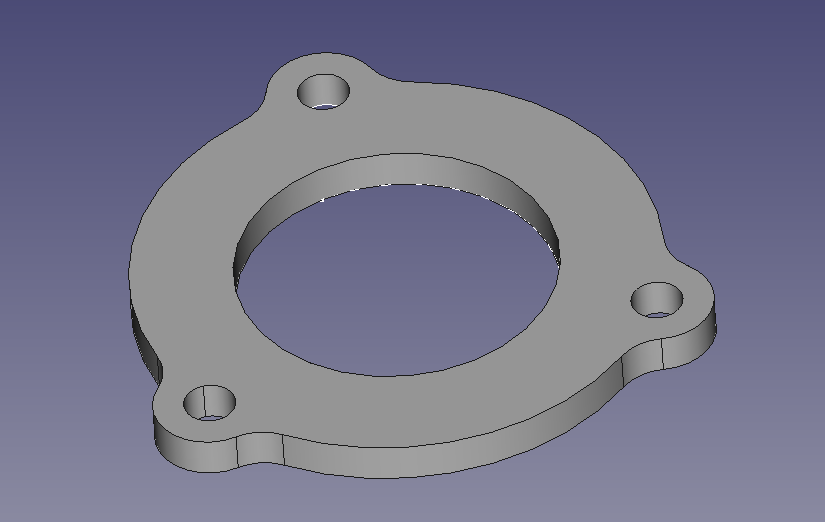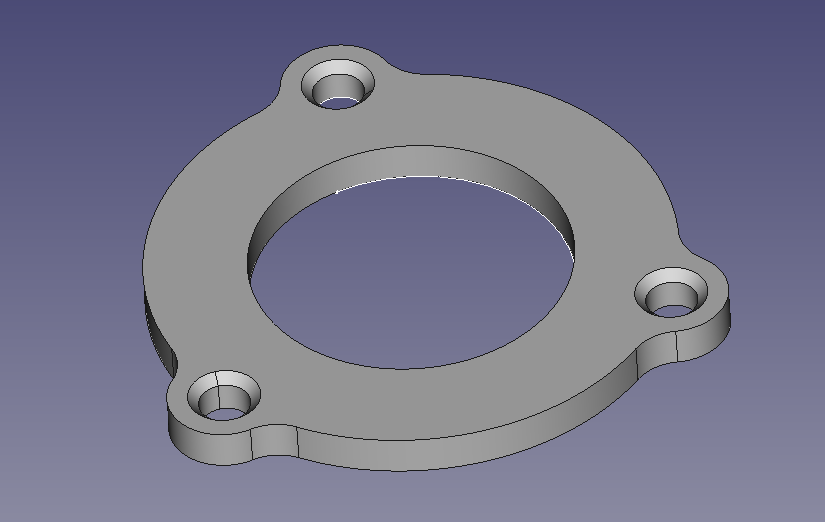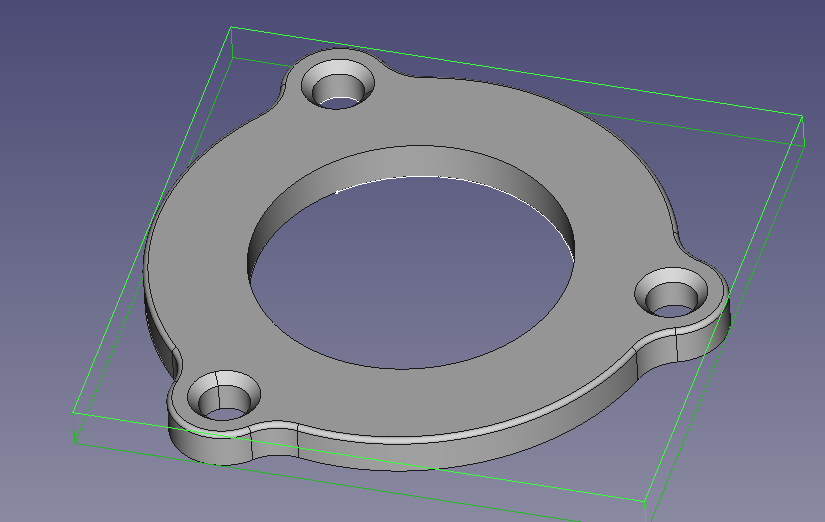
For this tutorial I will be using a simple Flange/Gasket design to show how the Part Workbench can vastly simplify your designs by using Polar Patterns.
As a newer user of FreeCAD I found myself creating vastly complex sketches. As I gained understanding and knowledge of the functionality of FreeCAD I realized that simplifying my sketches would safe time during the creation of a part and later during any changes.
A little bit about Patterns:
There are three different components of a Body in the Part Design work bench:
- A Features
- Patterns
- Decoreations
Features are the faces, edges and Vertices that you add to your design.
Patterns are repitions of features, they can only be based off of features. To nest patterns you must use the “Multi-Transform”
Decorations are changes to your design made near the end of the process. Items like Fillets and Chamfers are examples of decorations.
PRE-REQUISITE and WARNING : This is an overview of technique, NOT a step-by-step, you will NEED knowledge of Sketcher and Part Design. If you have never used FreeCAD, this tutorial is not for you.
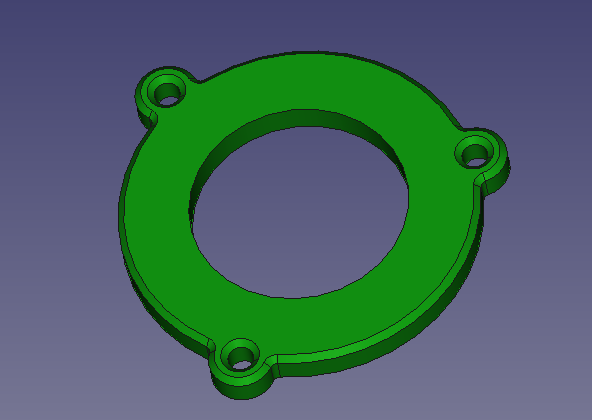
We will start with a 3 screw flange and we will quickly learn that any type of flange can be quickly achieved with a pattern
The simple approach is to create only the non-repeating portion of the object
Let’s take it Step-By-Step
The Sketch – Geometries
Start out using the Part Design Workbench, create a new body and a new sketch
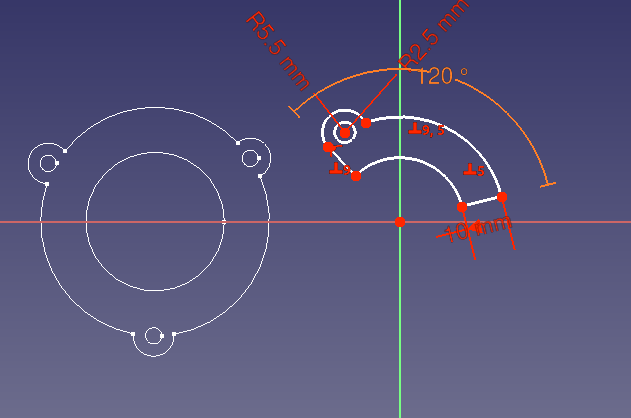
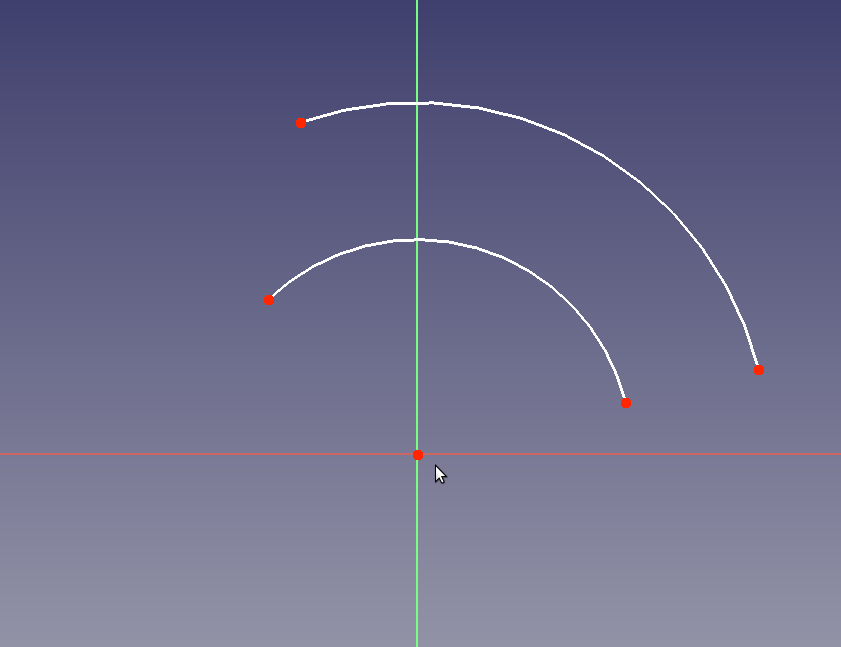
Add two arc segments, make sure the centers have a point constraint at the origin.
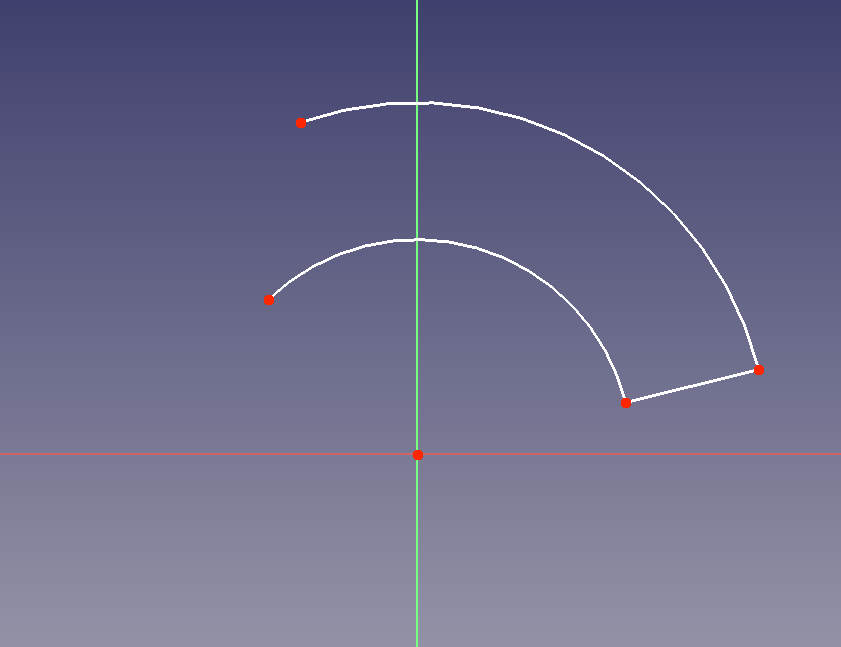
Connect the arc segments with a line segment at one end
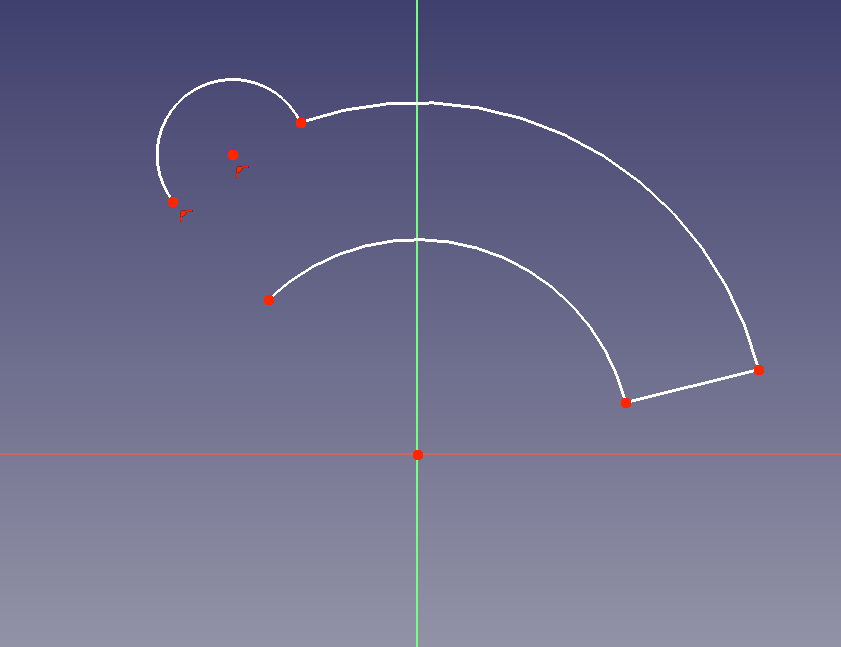
At the other end add a third, smaller, arc segment to the outer radius ( arc segment )
Connect a second line segment from the inner radius to the new third arc
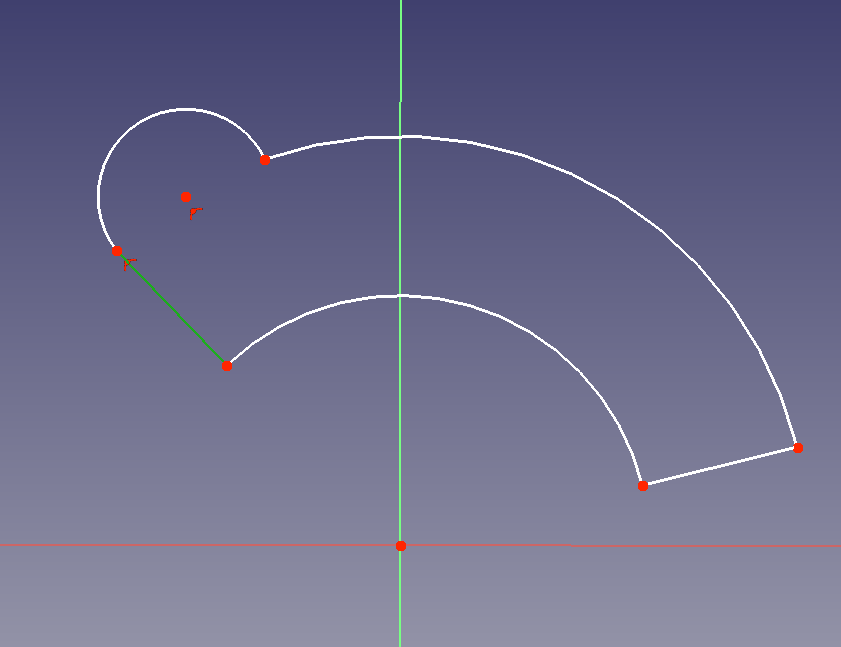
Add a circle with the center constrained to the third arc.
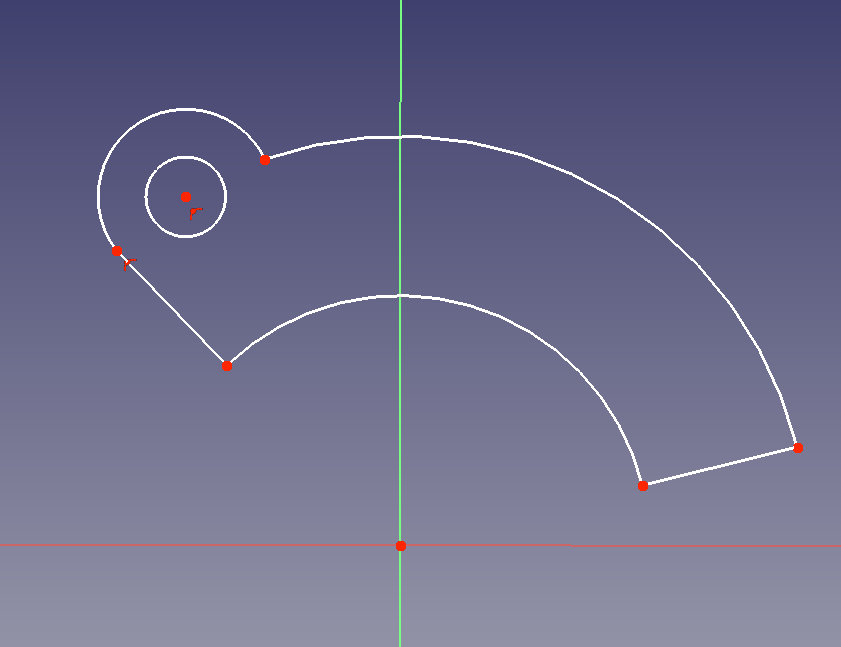
The Sketch – Constraints
Some of your constraints have been added when you added the sketch geometries, some will have to be added after
Constrain both line segments tangentially to the inner radius ( arc segment )
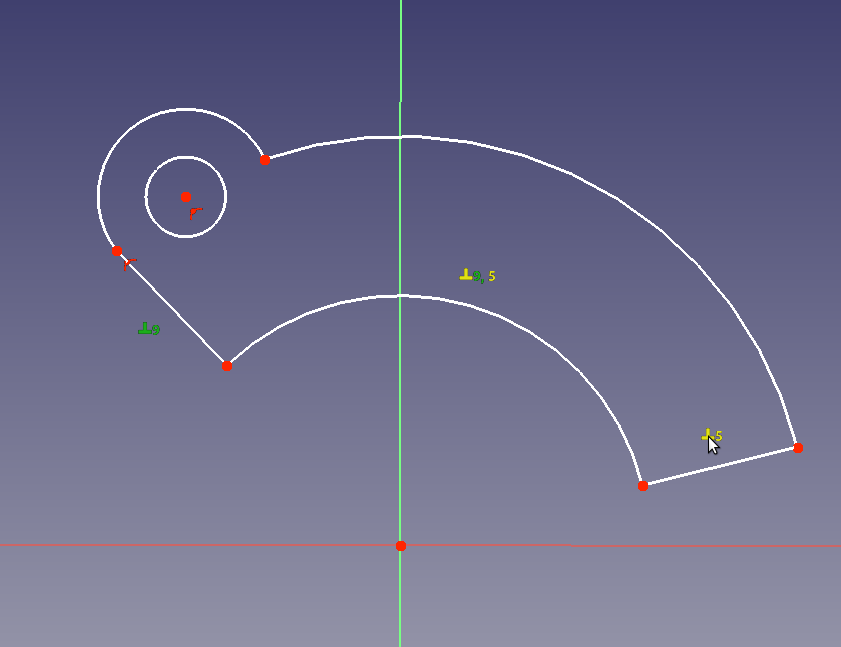
Constrain the center of the the third arc segment to the outer radius edge.
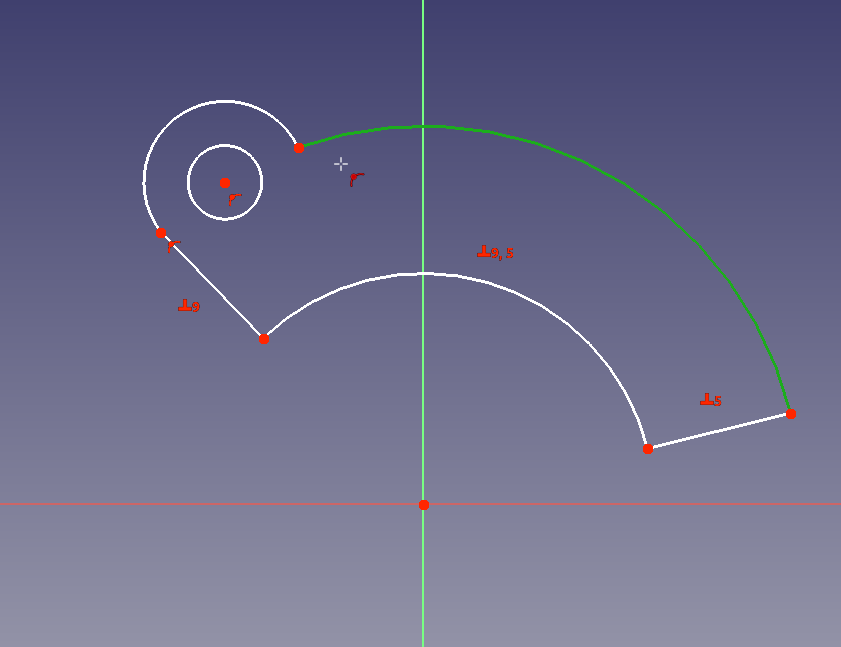
Constraint the endpoints of the third arc segment to the outer radius edge.
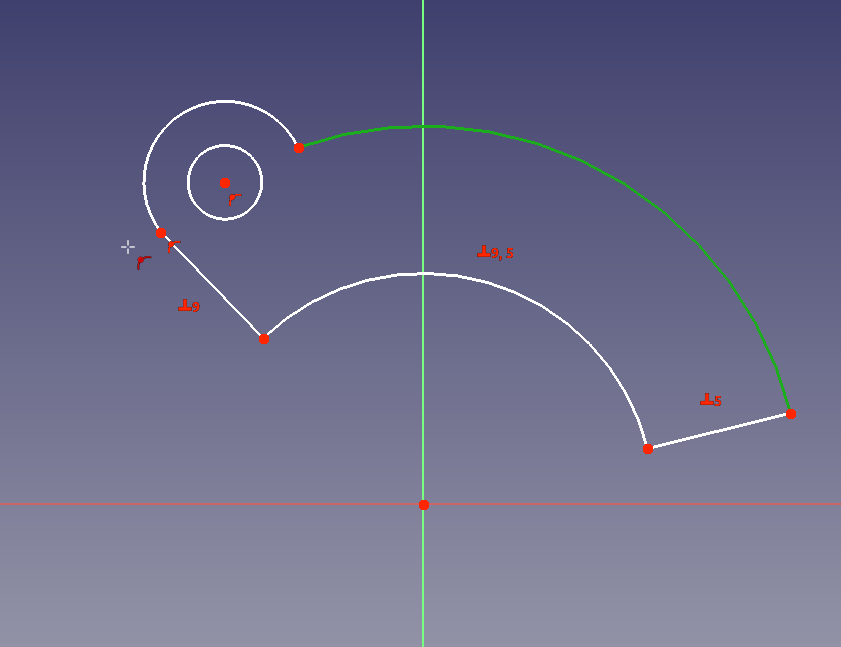
Select the inner arc segment, and constrain it with an angle constraint.
Enter 120 in the angle constraint ( set to 360/ number of Screw Tabs )
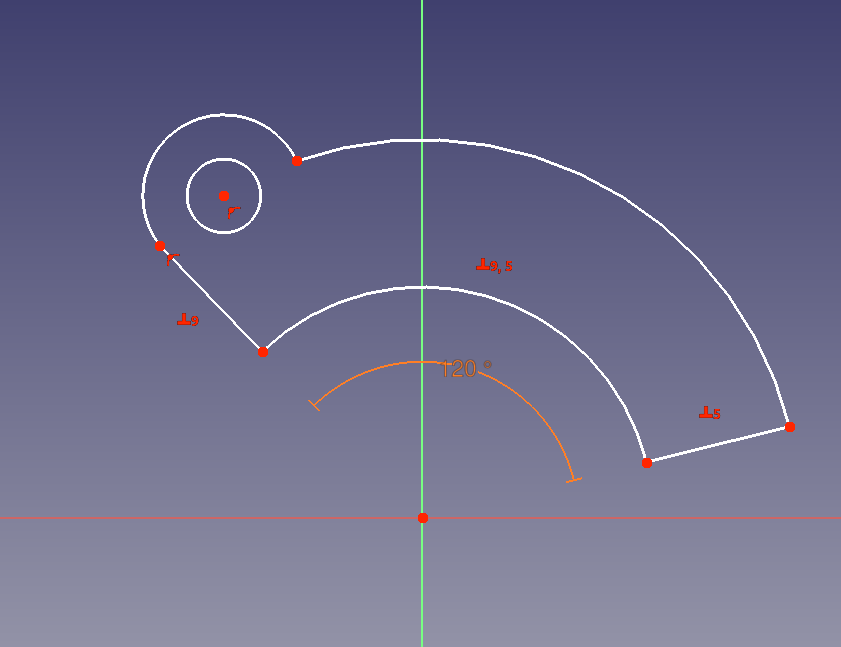
The sketch is finished click Close in the Tab
( or select Finish Editing from the Tree View Context Menu, or Leave Sketch from the Sketch Menu )
Pad and Pattern the sketch
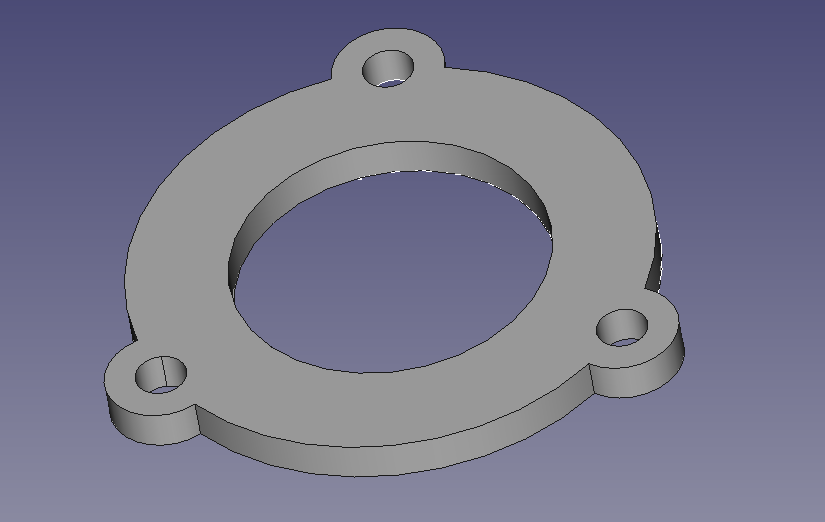
To complete the flange use the pad tool to give it thickness,
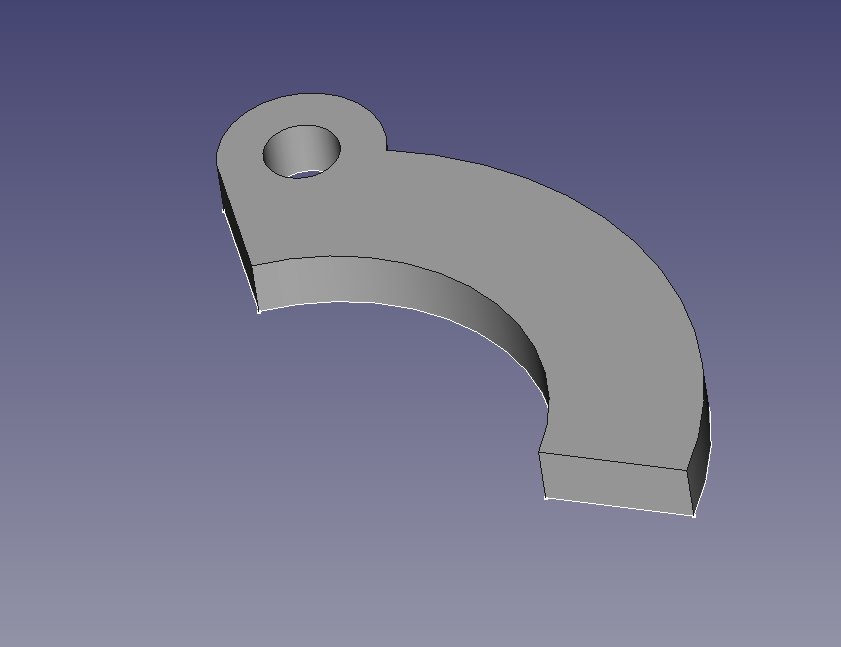
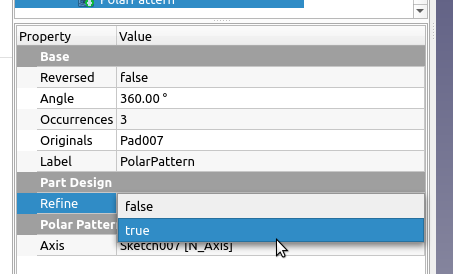
Use the Polar pattern tool to create 3 total pieces.
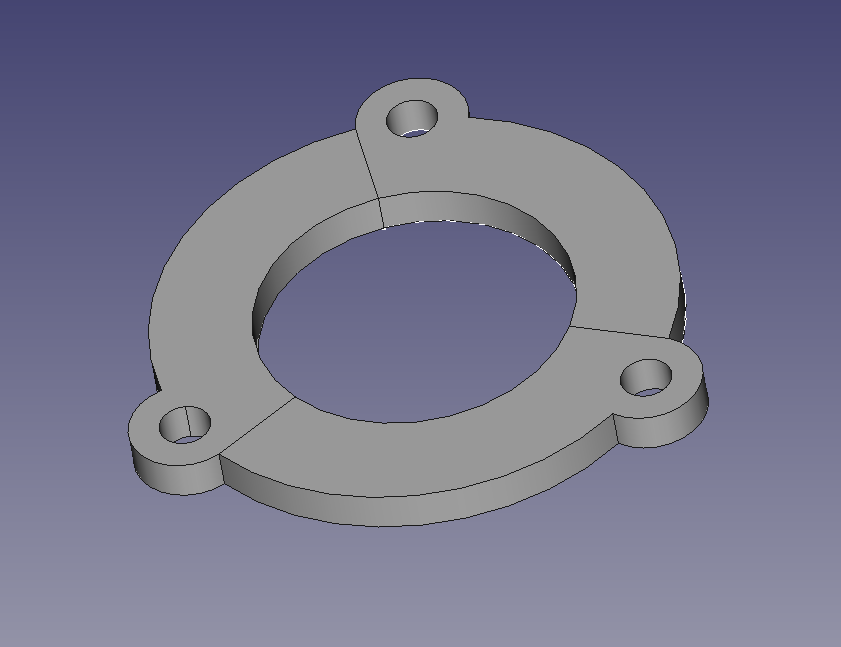
Select refine, so we can chamfer and fillet edges. In the above picture FreeCAD still sees this is 3 “separate” bodies. In order to apply a single fillet to edges on all three section we need to refine the shape. After selecting True you can see the shape now appears as a single shape.
Add “Decorations”
When the basic shape is finished we can add the decorators “Fillets” and “Chamfers”
We will fillet out the corners of the Screw Tabes
And chamfer the Screw Holes, with a round over on the edge.
